Photoshop can be overwhelming for a new user.
While there are an infinite amount of ways to edit your photos, here are 4 simple ways without using the “auto” feature!
1. Curves (Images>Adjustments>Curves)
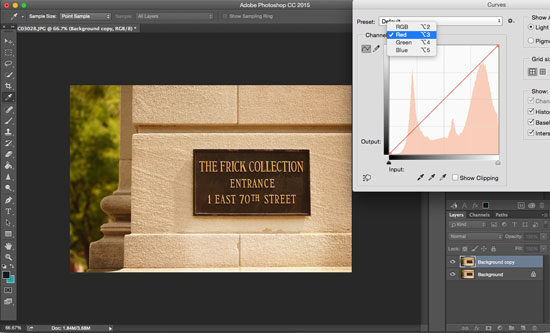
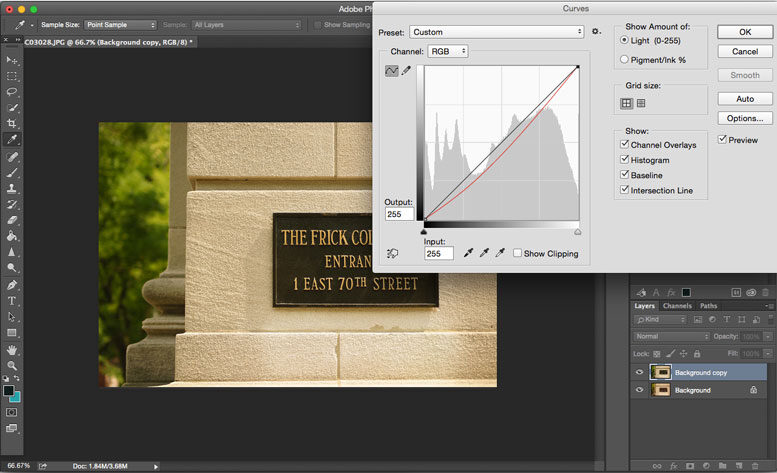
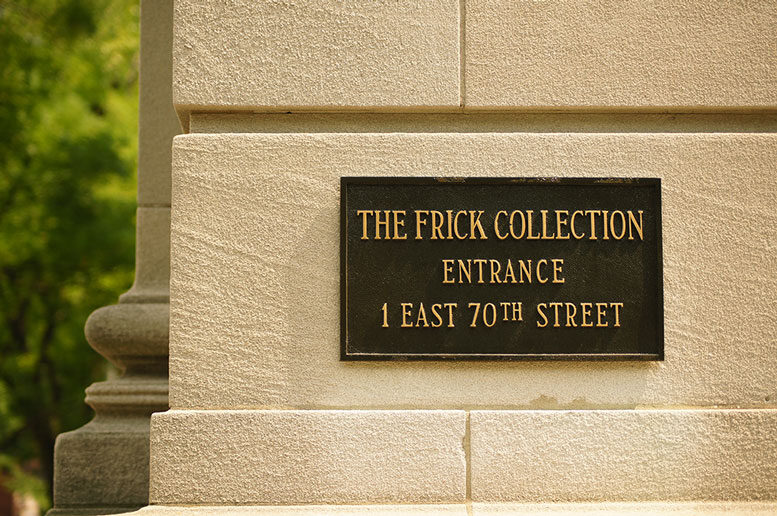
This is one of my favorite tools because it can be used for basic edits or you can get really creative. For basic edits, there are preset options available. Some of these will lighten your photos while others darken them.
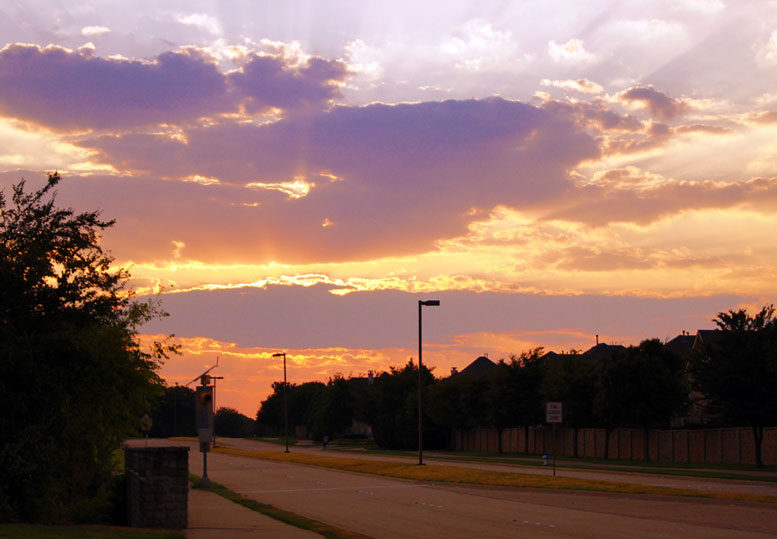
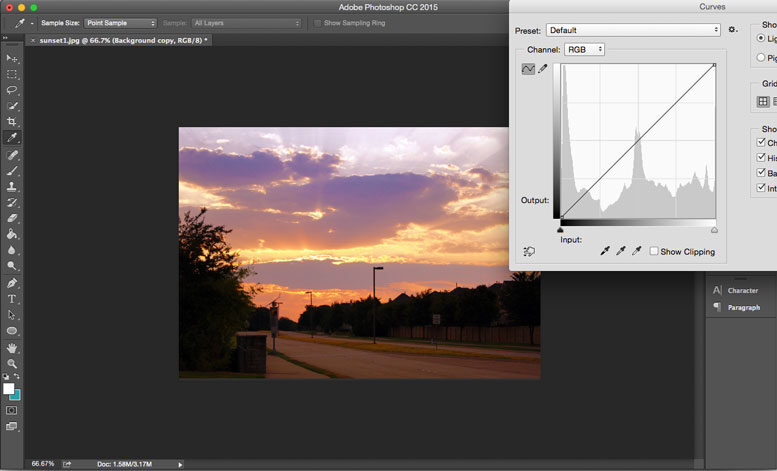
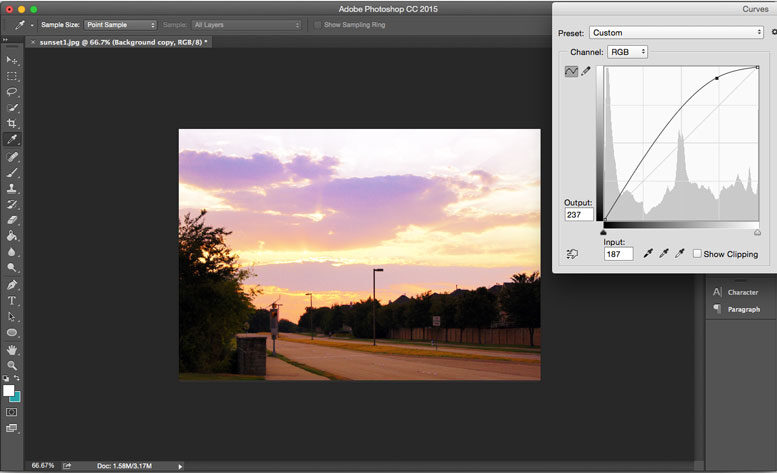
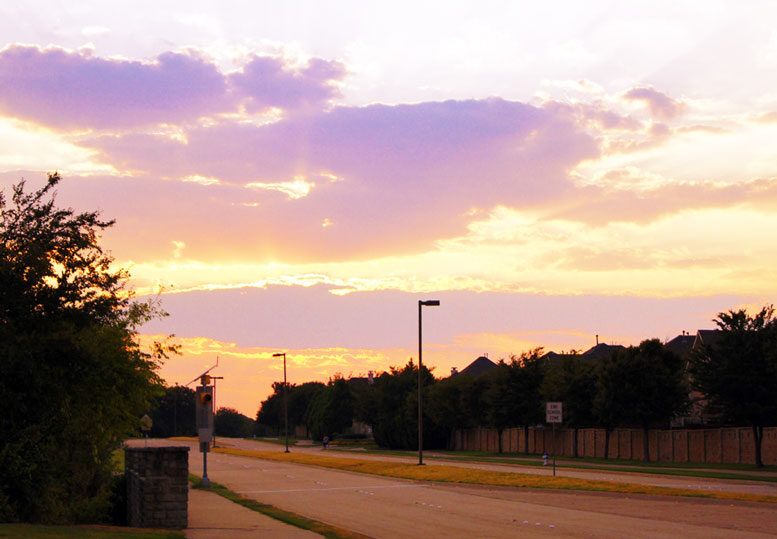
Bonus: There’s a drop-down menu where it says “RGB.” When you click on it, you can adjust the amount of red, green, and blue in your photo.
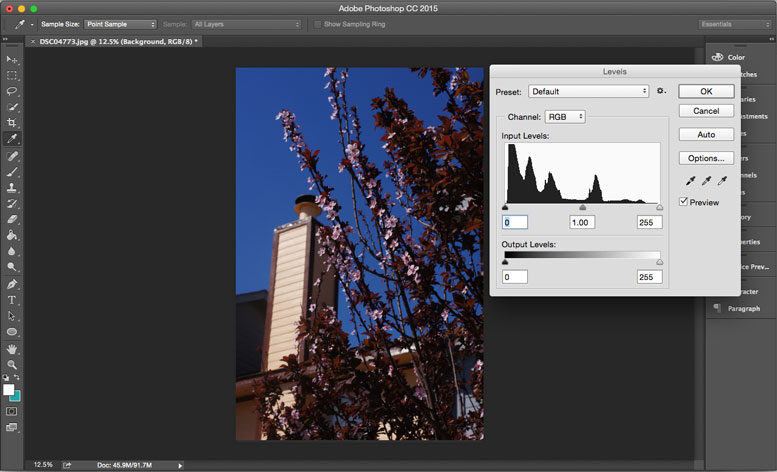
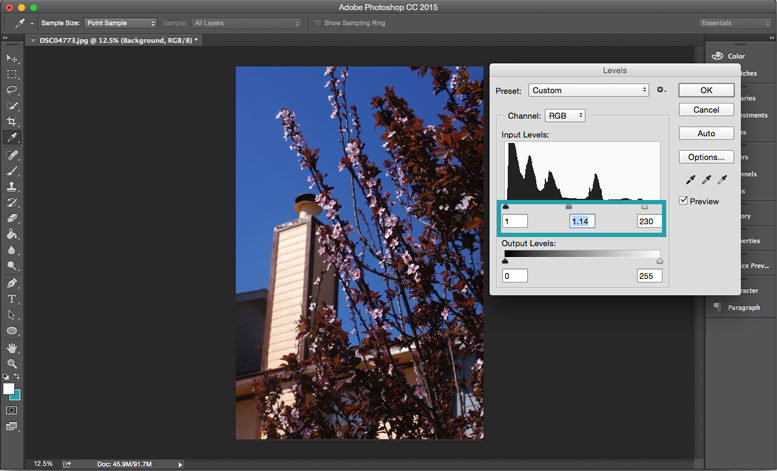
Levels (Images>Adjustments>Levels)
You’ll see this graph once you open this option called a histogram. This measures the amount of brightness, contrast, and tone of the photo. Typically, there’s no such thing as a good or bad histogram graphic because it depends on how much white/black is in the photograph.
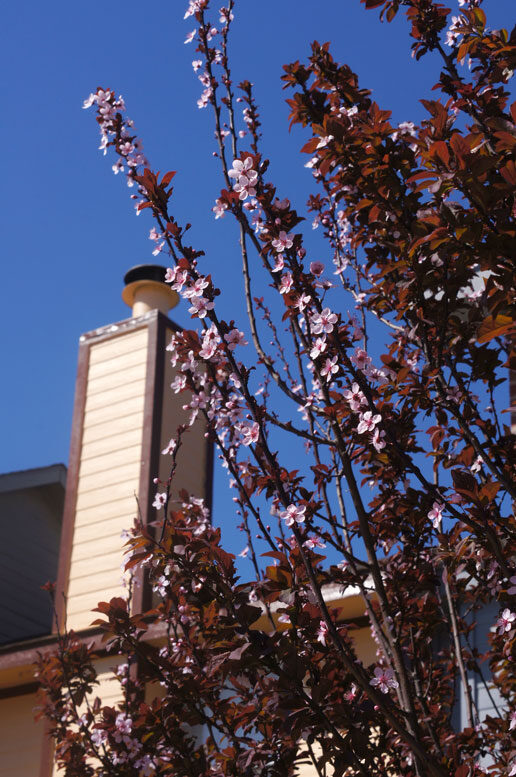
To adjust your photos in levels, adjust output/input levels or the histogram levels by moving the slider. I like hitting auto to see what it does, but I don’t leave it as such (sometimes it makes the photo look awful!).
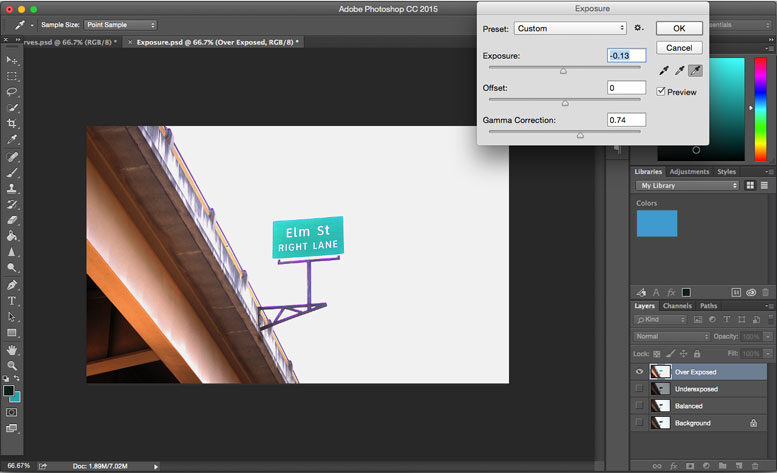
Exposure (Images>Adjustments>Exposures)
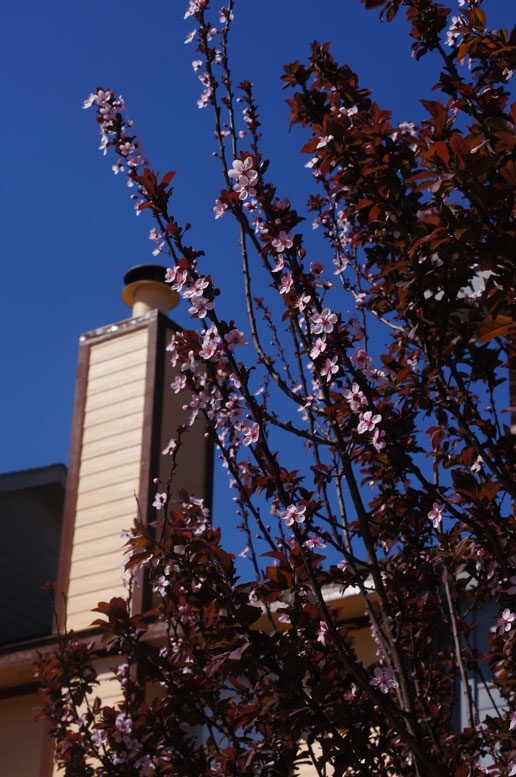
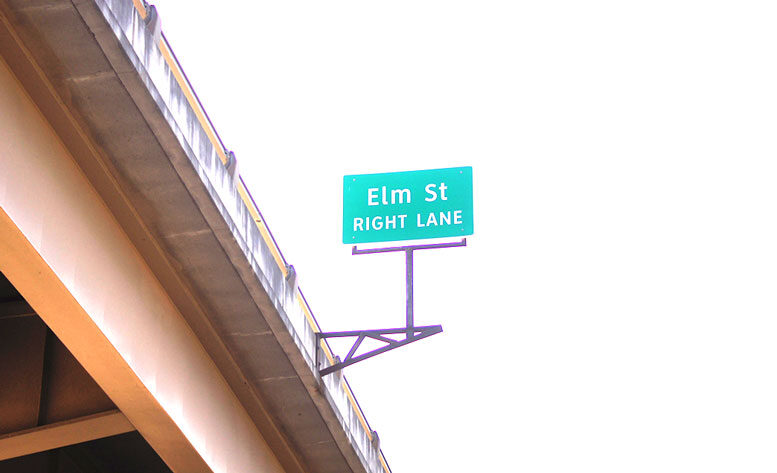
Exposure is the amount of light or lack of your photo has. It’s overexposed if it’s too bright and underexposed if it’s too dark.
When fixing underexposed photos: move the slider to the right a little bit at a time.

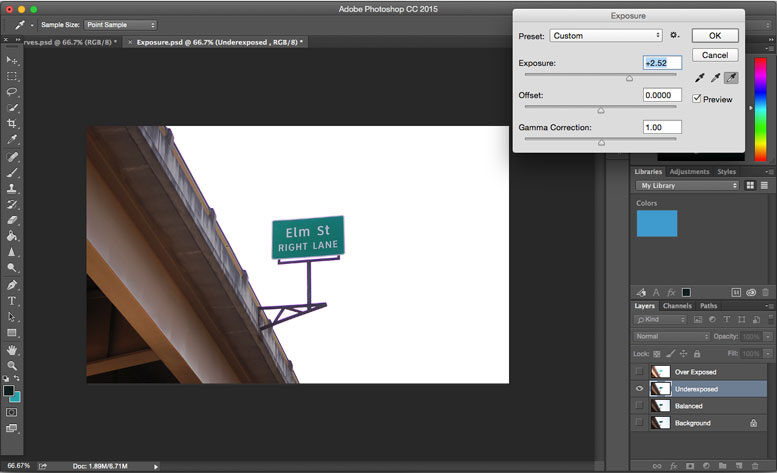
For overexposed photos: move the cursor to the left a little bit at a time. For photos with high overexposure, you can mess with the gamma-correctness.

Color Balance (Images>Adjustments>Color Balance)
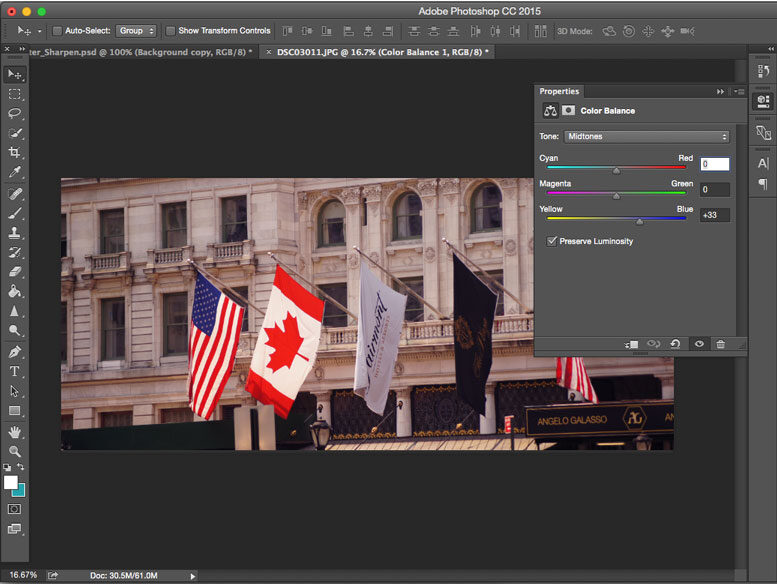
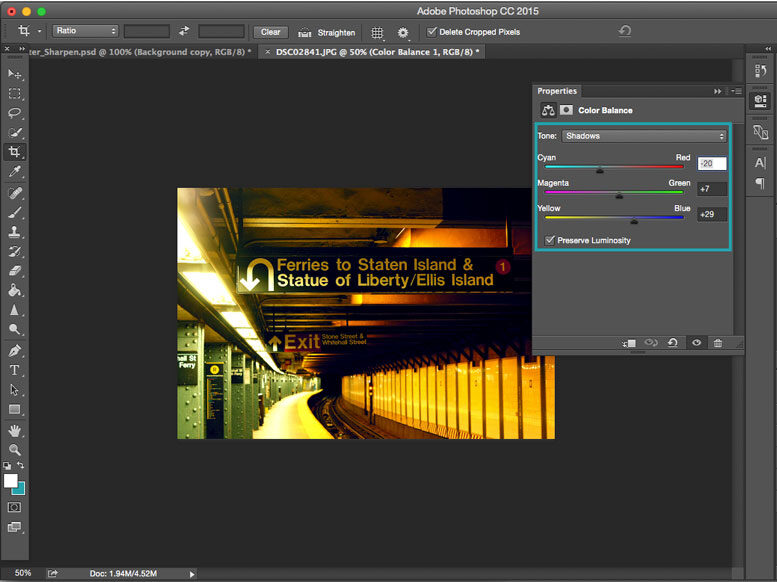
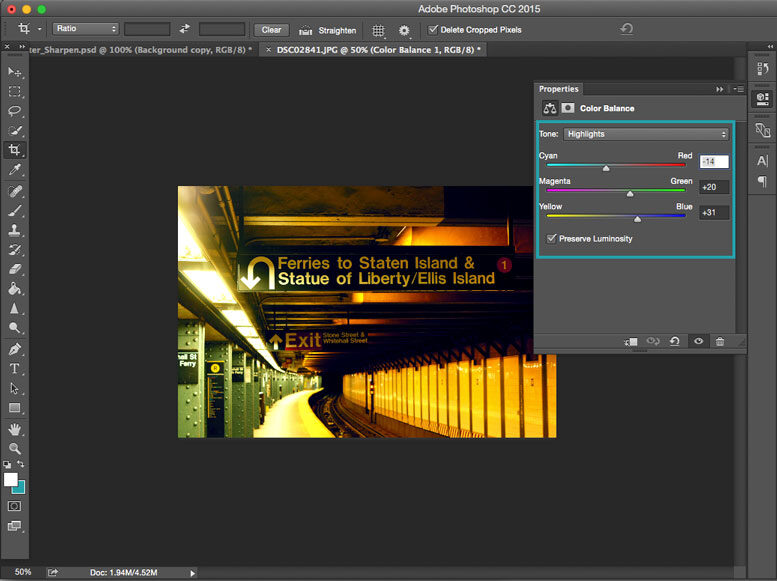
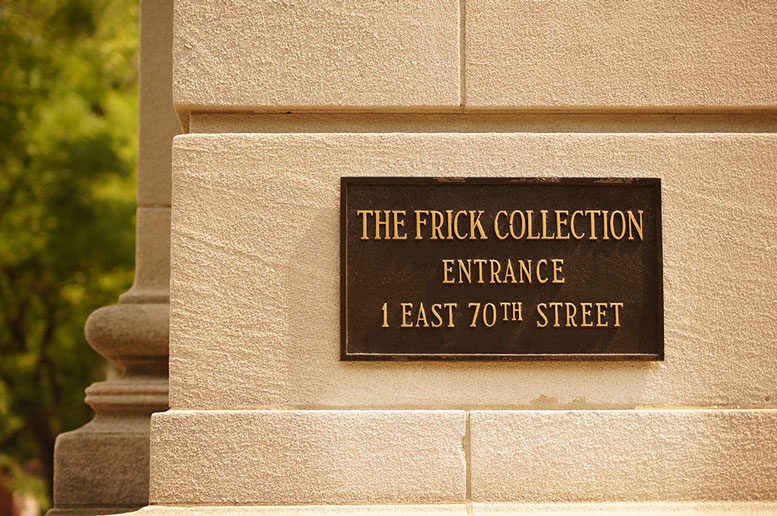
Sometimes our photos have an unexpected tint to it. This can be your camera’s color balance settings or the light you’re shooting in. Use this to fix unwanted photo tints:
-
To get rid of the unwanted warm tint, move the slider toward the blue side.
-
To get rid of unwanted blues, move toward the yellow.

