The holiday season is around the corner and that means one thing–FOOD! Like everyone else, we pretend we’re food photographers and pull out our phones to ready to snap for Instagram. Just one problem: no matter how good it looks, our food doesn’t come across appetizing.
Luckily my good friend Susannah of Feast and West gives us tips so we can take the best food photography that’s worth sharing.
We foodie types aren’t bashful about whipping out our phones at mealtime. I like to say, ‘If you don’t Instagram it, you didn’t really eat it, did you?’ A great food photo should make the viewer hungry. Even salivate a bit — and double-tap, of course! Food photography, whether for your blog or with Instagram, takes practice — you’ll get better at it over time, not overnight. Here are eight tips for photographing your meal next time you’re dining out or cooking at home.
1. Create a setting.
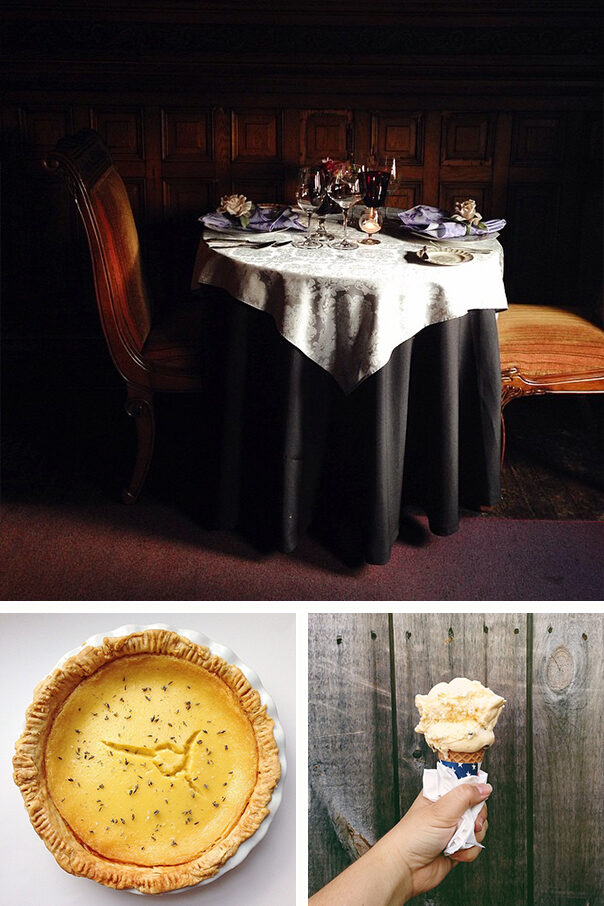
I love to create backdrops for my photos. I most often use white paper or a piece of plywood painted white, but you can use just about any surface. Fabric, wood, marble slabs and contact paper all work beautifully. Even grungy cookie sheets or vintage napkins (ironed or wrinkly!) can work. Don’t be afraid to lug your pretty bedside table into the light for a photo. Be creative and look for textures everywhere. I’ve even used my desk before! If you’re eating out, be choosy about where you sit and grab the prettiest, cleanest table.
courtesy of @feastandwest
2. Use props.
Pretty linens, silverware, flowers, and raw ingredients can all add detail and set the tone of your photos. The props you choose should reflect your dish. For instance, if you’re making your grandmother’s famous cake recipe, style it with a vintage plate or slightly tarnished fork. If you’re eating stir-fry, make sure you have chopsticks and soy sauce in the photo too.
3. Light it up.
Food looks tastiest in indirect natural light, meaning that the light isn’t shining right over the food. If you are eating out, request a table near a window rather than right in the sunshine. If you’re shooting at home, set up your studio in the room with the best light — which might not be the kitchen! (Your cat probably knows where the best spots are. Find her sleeping patterns and shoot there.)
courtesy of @feastandwest
If you have to shoot at night, schedule your restaurant dinner before sundown so you can savor daylight and dessert together. Overhead lights and flash can make food appear yellowish, blueish or fake and shiny — which doesn’t make anyone hungry. In a pinch, lamps and candles can be fun to experiment with too. In general, though, darkness doesn’t help food photos stand out.
4. Play with your food.
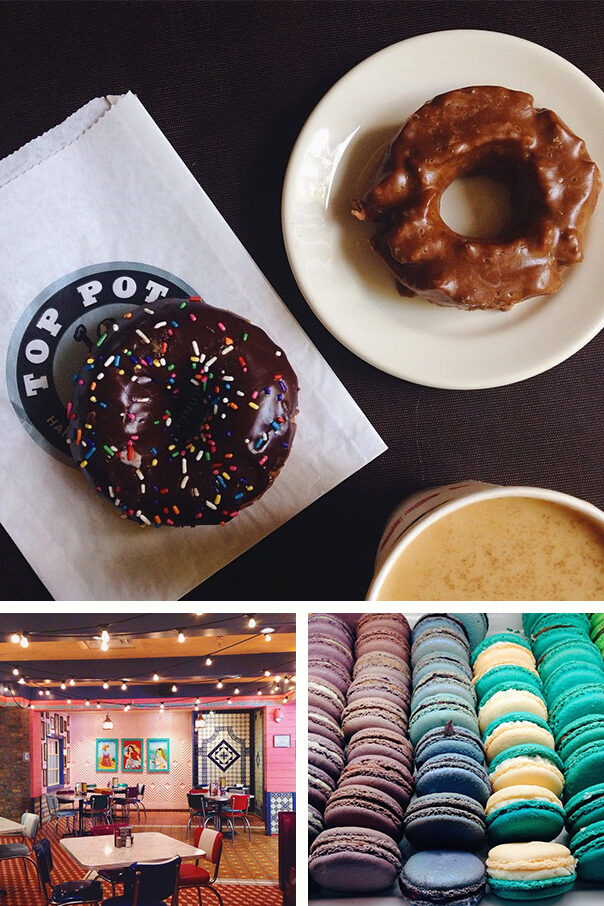
Don’t be afraid to move plates, glasses, and cutlery around your surface to style the shot your way. Try cropping some items out of the frame and create depth by moving items into the background. Stand on a chair for wider shots or get in close to show detail. Try aerial/overhead shots or shoot from the side for a different angle. Bring life to your photos by shooting hands interacting with the dishes or holding the food. Hold a doughnut in your hands, or have friends reach across the table for beers and slices of pizza.
5. Watch for color.
Order colorful menu items. Be careful to add contrast to any brown foods — like brownies, potatoes, meat, etc. — to make them look more appetizing and less, well, brown. Brown food can be difficult to photograph, so try to bring in other colors, such as a vase of flowers, fresh herbs, or a pretty napkin. Watch for textured tabletops, pretty linens, and unique cutlery to add interest to banal-looking dishes.
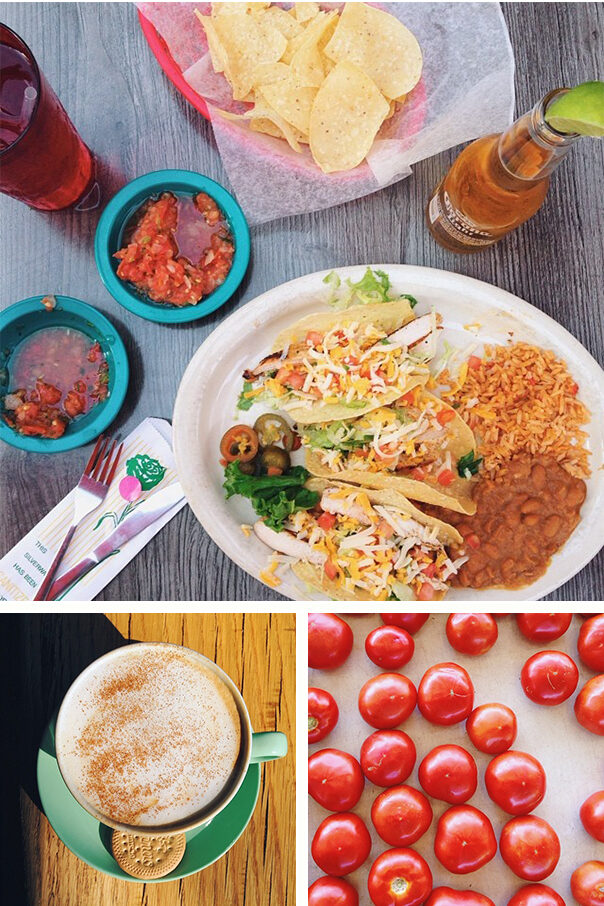
courtesy of @feastandwest
6. Step away from the table.
Not every photo needs to be of food. Challenge yourself to photograph restaurant interiors and exteriors, signs, menus, and wall art as well as the edible stuff. Look for cool window reflections, photograph the display cases or take action shots of restaurant staff in the kitchen or behind the bar for a different take on your dining experience. Remember that an empty, crumb-filled plate can say as much about a dish as a full one!
7. Take a bunch.
It’s hard to recreate the dish after it’s eaten to take more photos. So, take a ton of photos. You can always delete them. Plus, you can tell the story of your meal in more than one photo — I always prefer blog posts with three or more images to break up the text.
8. Develop your own style.
Give your photo more than just a filter. Editing should take as much thought and consideration as the photo itself. I always make my photos brighter, warmer, and a bit more saturated. (Most photo-editing apps, including Instagram, Snapseed, and, my favorite, VSCO Cam allow those adjustments.) Edit in moderation, and choose a filter that makes the food appear true-to-life. Develop an editing routine so your photos look similar each time you post.
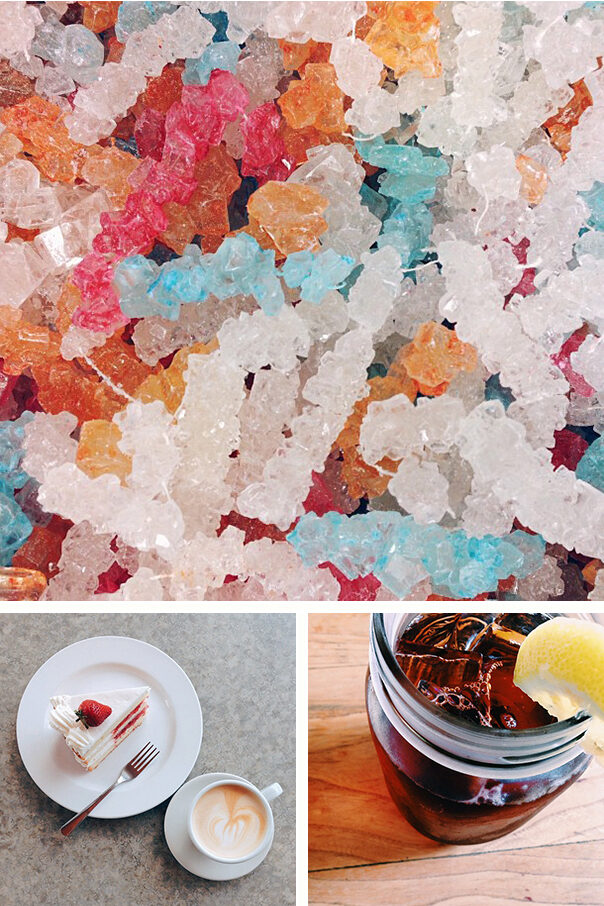
courtesy of @feastandwest
Now that we have these lovely tips, I fully expect to see drool-worthy photos of what you’re baking this holiday season! Make sure you follow Susannah’s blog at Feast and West and Instagram @feastandwest.


